Create a New Gmail Account For my Business
I decided to describe how to create a new Gmail account for my business, just so you can follow along and learn all the steps from start to finish to create a custom Gmail account for your own business. As you may know, you can have a Gmail address @yourcompany.com rather than @gmail.com and still benefit from all the features and benefits of a Gmail account.
There are basically two things that you need to create a Gmail account which is linked to your business name: a domain name and a Google Workspace (formerly called G Suite) account.
You may already have your domain name, but in what follows I’ll describe how you can get one cheap with Bluehost. That way, if you also decide to get your domain name through Bluehost, you can follow my exact same steps to set it up and link it to your Google Workspace.
The second thing you need is indeed get a Google Workspace account, which I’ll also show you. The cheapest Google Workspace plan (Business Starter) is $6 per user per month and offers all you need to get started (30 GB cloud storage per user, which is plenty, vs the 2 TB cloud storage per user in the $12 per month per user Business Standard plan)
It should be noted that there are guides out there that explain how you can link your own domain name to a free Gmail account and I’m not saying that they are wrong, but there are a few disadvantages to trying to work with a free Gmail account. One of them is that your contacts may see warning messages like “The actual sender of this message is different to the normal sender” in their inbox, which is not something you want to trigger when mailing from your business email account. That’s why I have chosen to stick with the $6 monthly Google Workspace plan in this example.
With that out of the way, let’s get started!
How to Create a New Gmail Account For my Business With my Own Domain Name
I’ll start by acquiring my domain name to create a new Gmail account for my business. I’ll head over to the Bluehost domain page
And enter the domain name that I want to register and click search

I’m in luck because my domain name is available.

I don’t need the privacy + protection option at this point so I click to remove them and proceed to checkout. During checkout I’ll also skip the options to add hosting and I’ll skip the Microsoft 365 option as I will create a new Gmail account for my business with this domain name, so I won’t be needing Microsoft 365.
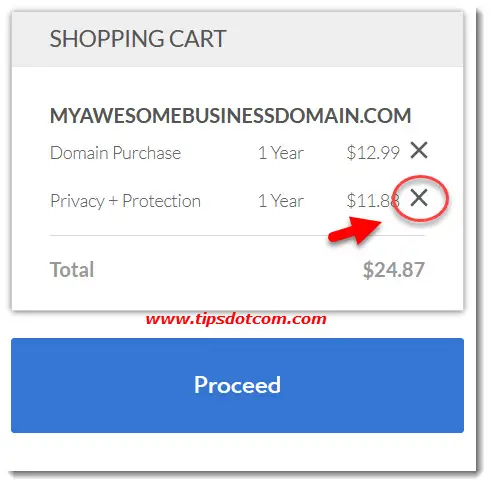
Once I’ve successfully completed the order, I now own my own domain name.
Now I’m ready to sign up for a Google Workspace account.
In order to get started, I can sign up for a Google Workspace Business Starter plan here.
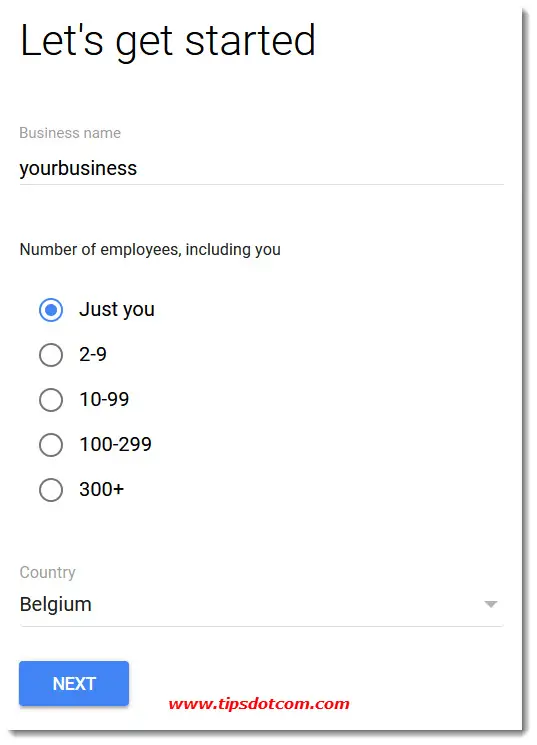
Select the number of employees, including you and your country and click next.
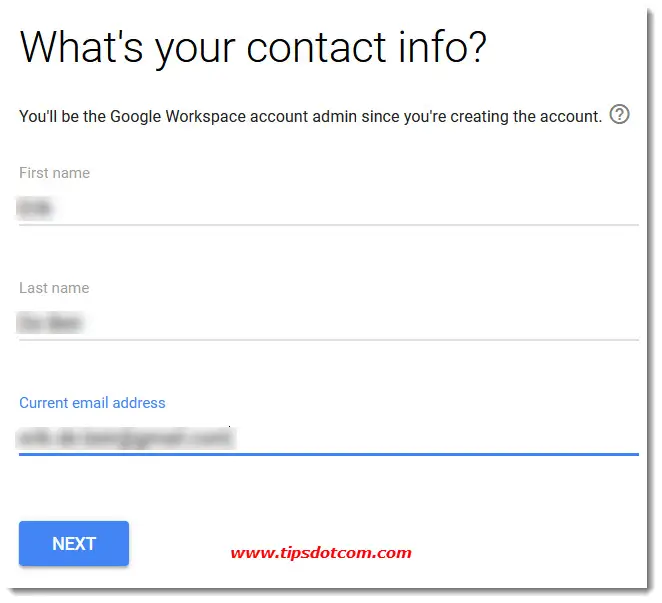
In the next screen, enter your contact information and click next.
Next, Google Workspace signup will want to know if you already registered a domain name for your business. Since in this example I’ve chosen to work with a Bluehost domain name, I’ll select “Yes, I have one I can use”. If you select “No, I need one”, you’ll be guided to a few extra steps to get your domain name via the Google Workspace signup.
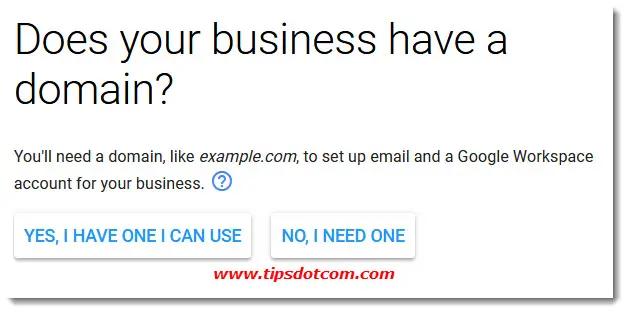
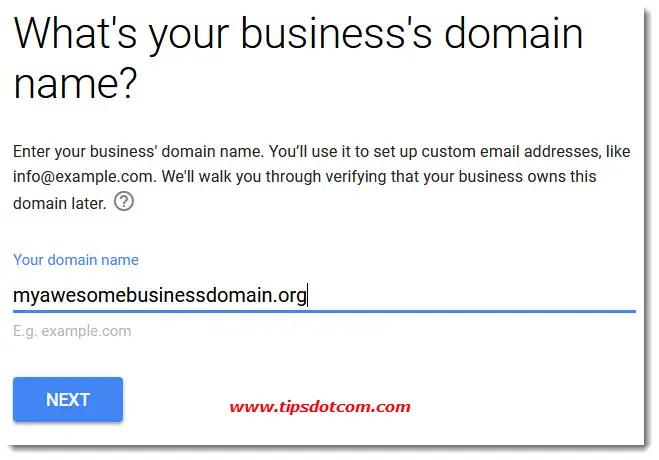
After selecting the option that I want to create a new Gmail account for my business and that I already have a domain name that I can use, I will be prompted to enter my domain name.
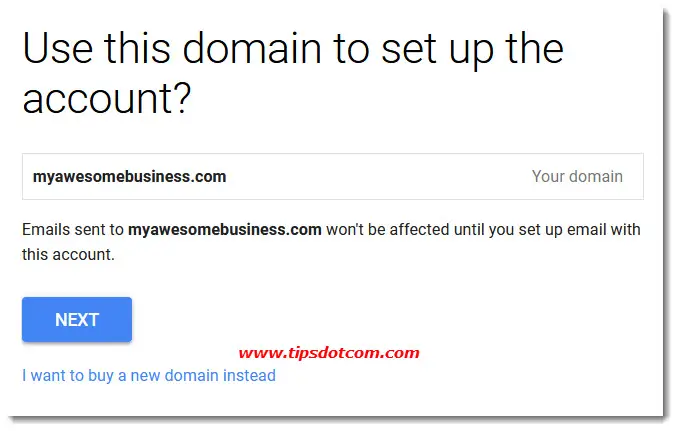
Next, I’ll have to confirm that I want to set up my new account with my domain name.
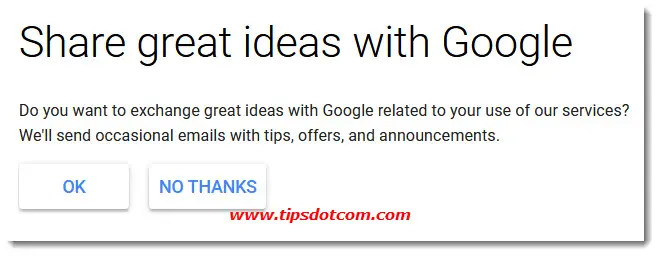
In the next screen I have the option to get mails about the Google Workspace service. I’ll select “No thanks” for now.
In the final screen I’ll have to select how I will sign in to my new Google Workspace account, pick a password and click “Agree and continue” to go on and create a new Gmail account for my business.
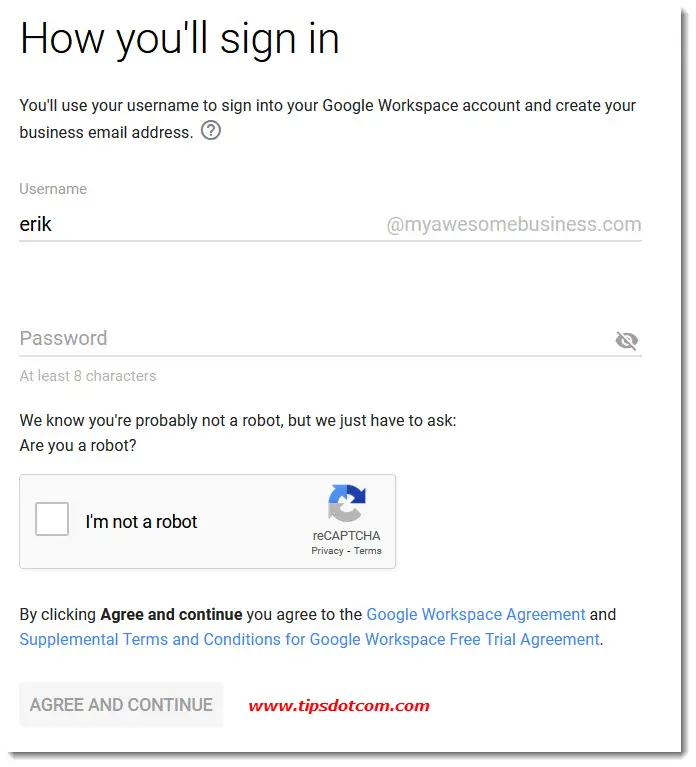
At this point you create your [email protected] account, but it is not linked with your domain name yet. We have to set the domain name so that all email messages that will be sent to your [email protected] will indeed arrive in your new Gmail account inbox. To do that, we have to set the “MX record”.
Let’s see how that is done.
Sign in to your Bluehost account if you are not signed in yet.
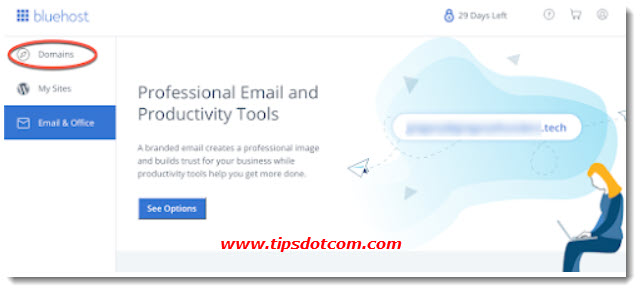
On the left side of the screen, click “Domains”.
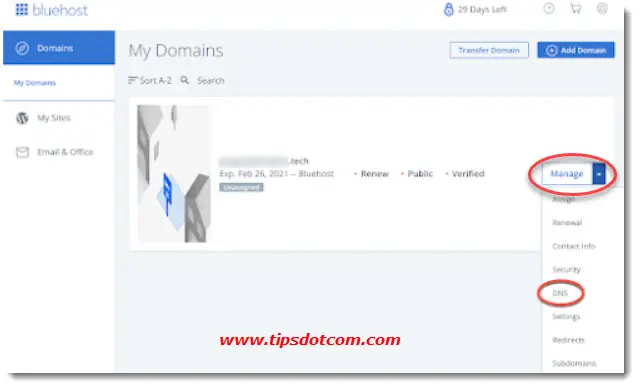
Now, on the right hand side of the screen, click “Manage” and then “DNS”.
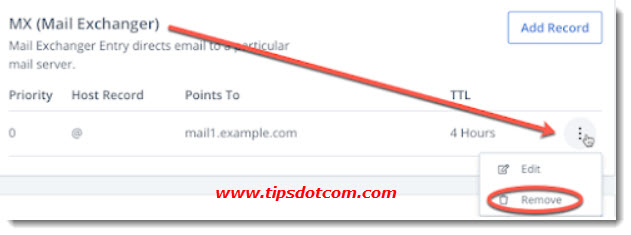
Now remove any existing MX records that are already there.
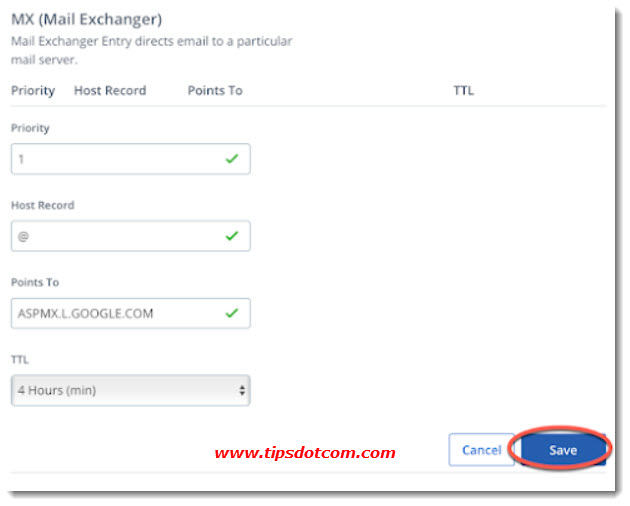
Next, we’re ready to add the new Google MX record.
In the Priority field, enter 1.
In the Host Record field, enter @.
In the Points To field, enter ASPMX.L.GOOGLE.COM.
In the TTL field, leave the default value of 4 hours.

And then click save to save your changes.
Repeat these steps until you've entered all 5 records shown in this table:
| MX server address | Priority |
| ASPMX.L.GOOGLE.COM | 1 |
| ALT1.ASPMX.L.GOOGLE.COM | 5 |
| ALT2.ASPMX.L.GOOGLE.COM | 5 |
| ALT3.ASPMX.L.GOOGLE.COM | 10 |
| ALT4.ASPMX.L.GOOGLE.COM | 10 |
Under “Get your verification code”, click the copy button to copy your verification code and paste the value in the Value/Answer/Destination/Target column.
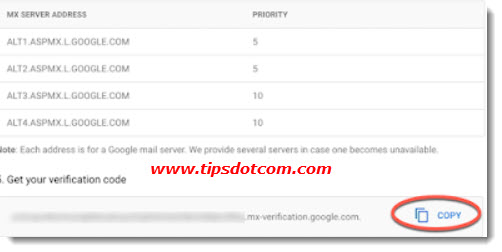
To create a new Gmail account for my business, I now need to link the MX record information to the Google Workspace account.
To do so, we open the Google setup tool
In the Gmail section, click “Activate”.
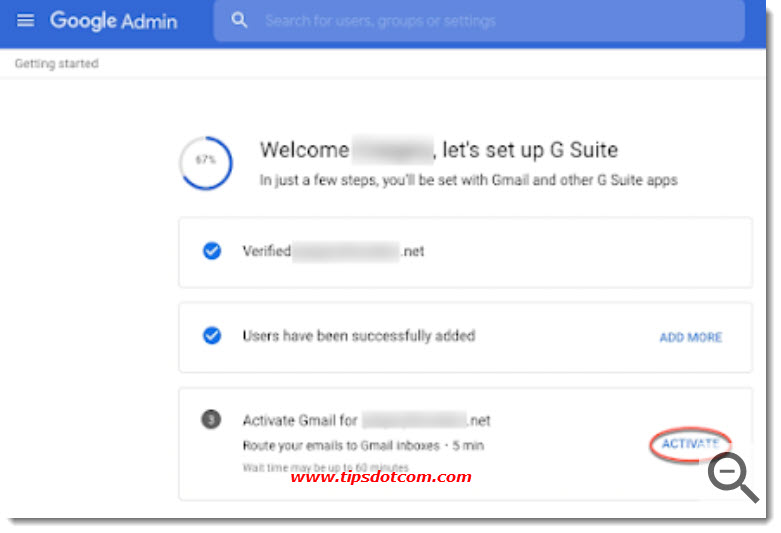
In the next step, verify that you are ready to start receiving messages. Now, click the activate button to complete the setup.
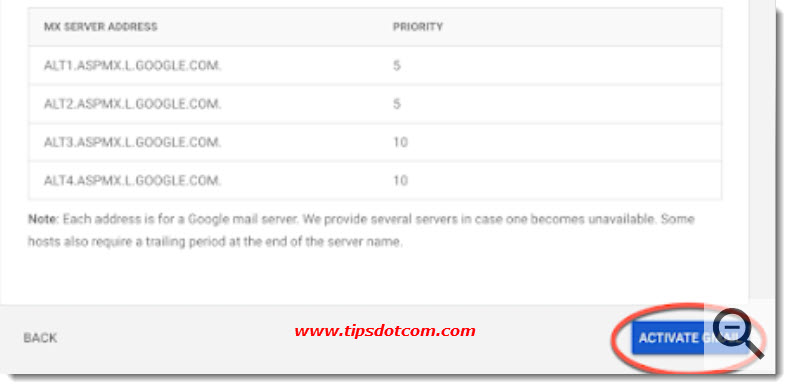
Please note that it can take a while (a couple of hours in some cases) before these settings are propagated correctly and before you effectively start receiving messages in your new Google Workspace account.
With this description on how to create a new Gmail account for my business I hope to have guided you through the necessary steps to create your own custom Gmail address linked to your own domain name.
If you've enjoyed this article or found it useful, I'd appreciate it if you'd let me know by clicking the Like (or Share) button below. Thank you!


New! Comments
Have your say about what you just read! Leave me a comment in the box below.