Windows 10 Recovery Drive
If the thought of creating a Windows 10 recovery drive seems boring to you, I can sympathize with that. What is a heck of a lot less boring though is trying to recover your files after you’ve lost your PC to sudden catastrophic death WITHOUT a recovery drive.
I know, creating a recovery drive is something that doesn’t take long at all and you’ll eventually get to it someday when you have the time, but not right now thanks because you have something more important / interesting to do.
Sounds familiar? I know. I guess it’s human psychology.
So anyway, since you’re reading about the Windows 10 recovery disk now, let’s see how you can go about it.
Creating A Windows 10 Recovery Drive
Windows 10 comes with a tool called “Recovery Media Creator” that you can use to create your recovery drive. The Recovery Media Creator offers you the choice between a USB flash drive or a CD/DVD disk as your recovery media.
To start Recovery Media Creator, click the Windows 10 start button and type “recoverydrive” (without the quotes).
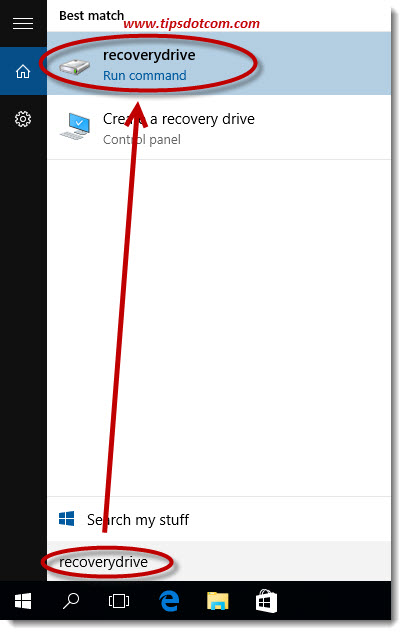 Type "recovery drive" to bring up the tool in the search results
The Windows 10 recovery drive creator tool will show up at the top of the search results, so click there in order to invoke the tool.
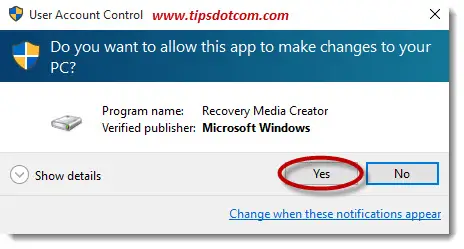
If a user account screen comes up, click yes to continue.
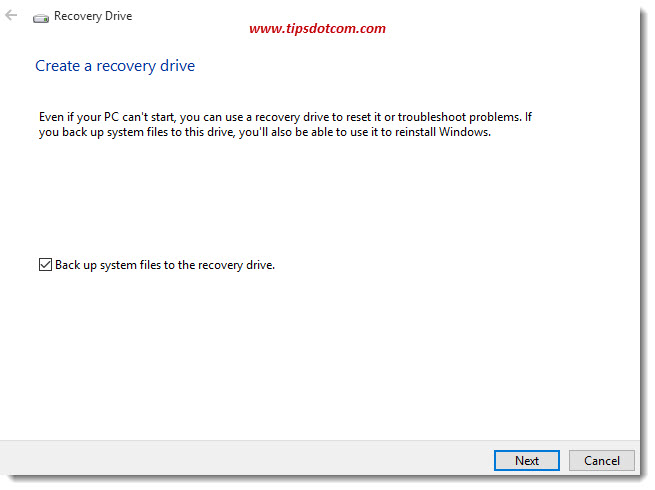
Next, you’ll see the Windows 10 recovery drive creator screen. Make sure the checkbox next to “Back up system files to the recovery drive” is checked and click next.
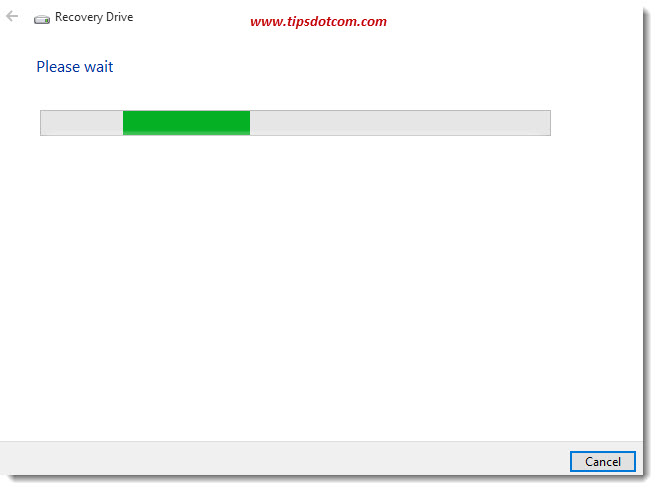
Windows 10 will now ask you to wait while the recovery disk creation tool is working. The tool will calculate the amount of necessary space that will be required on your recovery disk. The capacity needed will depend on whether you are creating a Windows 10 recovery disk on a 32-bit system or a 64-bit system.
In the next screen, you’ll see how much free space you need on your recovery drive and you’ll also be notified that if you continue, all current data on the USB recovery drive will be deleted.
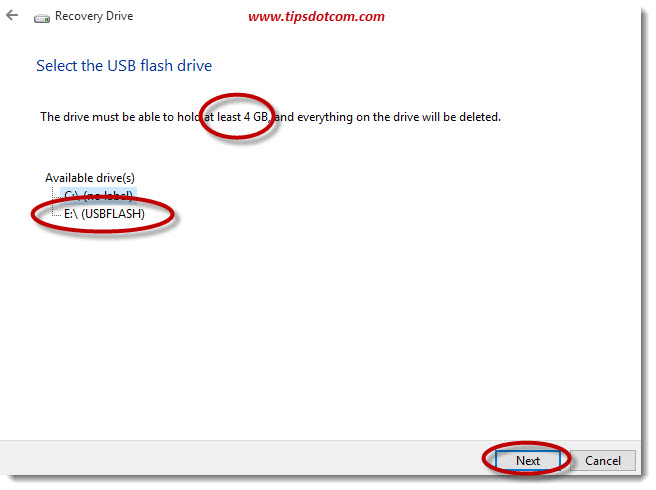
Select your USB drive and click next to continue. Another warning message will appear that you’re about to destroy all existing data on the USB flash drive.
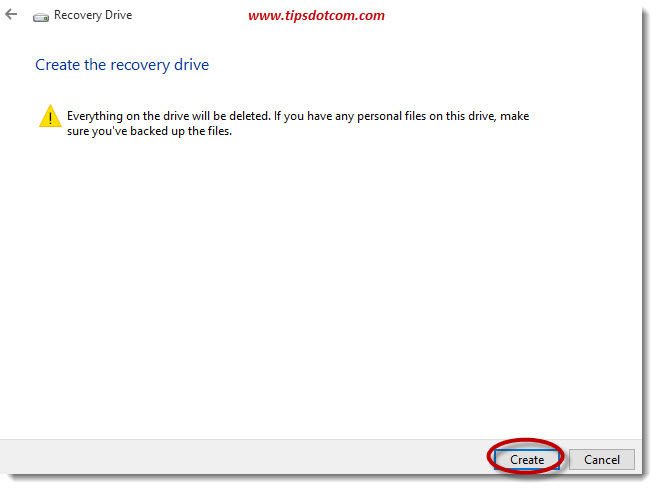
Click the create button to proceed.
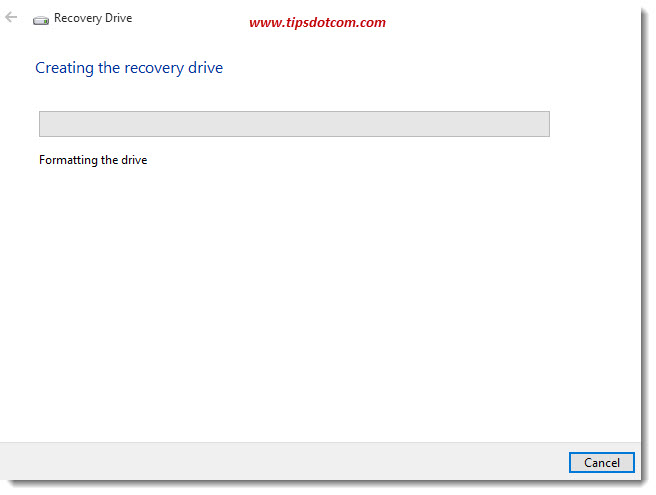
You’ll see a few screens keeping you informed about the progress on your recovery drive creation process.
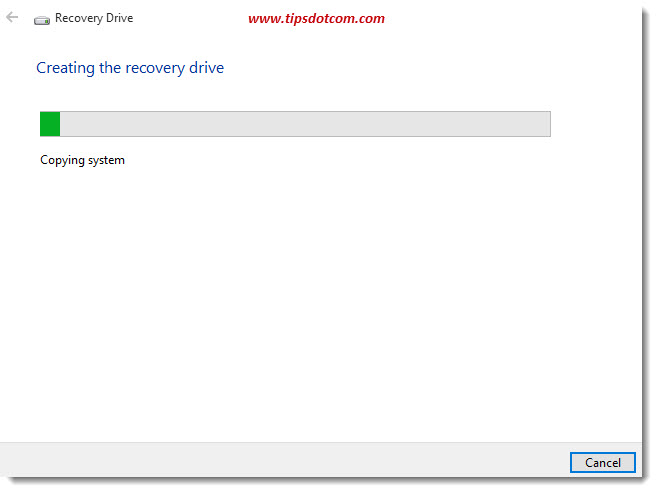
Once Windows is ready with the creation of the recovery drive you’ll see a notification that the recovery drive is ready.

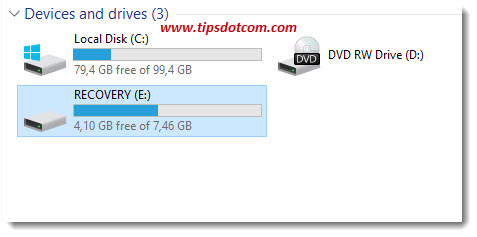
If you take a look in Windows Explorer, you’ll now notice your new recovery drive, named “Recovery” by Windows, which you can use to troubleshoot problems with your computer, even if it won’t start normally. You’ll be able to boot from your recovery drive in order to fix problems or recover from a crash.
Related article: Windows 8 Recovery Drive.
If you've enjoyed this article or found it useful, I'd appreciate it if you'd let me know by clicking the Like (or Share) button below. Thank you!


New! Comments
Have your say about what you just read! Leave me a comment in the box below.