Windows 10 Slide To Shutdown
Maybe you’ve already seen the Windows 10 slide to shut down feature on a tablet or mobile device. It looks sleek and offers a convenient way to shut down Windows 10. The feature is intended to allow you to swipe down across the screen with your finger on touch devices, but since it is part of the Windows 10 operating system, there is no reason you shouldn’t be able to use it on non-touch sensitive screens with your mouse.
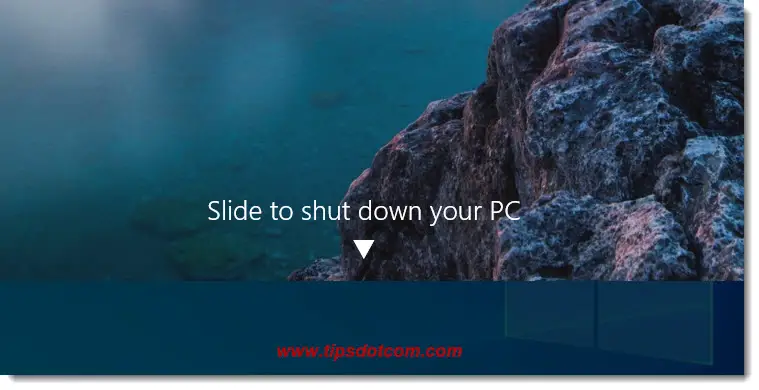
The image below illustrates what it looks like and in what follows I will explain how you can easily create a shortcut on your computer even if you don’t run Windows in tablet mode. I’ll also show you how you can put the shortcut on your Windows taskbar so that you can access it directly.
By the way, I have written about a single click Windows 10 shut down shortcut before, which was slightly different from this one. Feel free to check out the article by clicking the link.
When using the slide to shut down feature in non-tablet mode, you can simply click and drag down with your mouse to shut down your computer. Activating this is easy and doesn’t take long to set it up, so let’s see how it’s done.
How To Create The Windows 10 Slide To Shut Down Shortcut
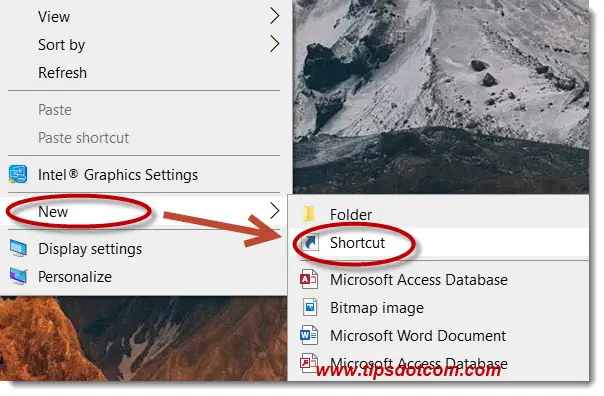
Ok, so in order to create a Windows 10 slide to shut down shortcut, you start by right-clicking on your desktop and selecting new - shortcut.
Windows will now show you a screen where it asks you “What item would you like to create a shortcut for?” and an input box where you can type the location of your item. Obviously, that is where you need to put the Windows 10 slide to shut down shortcut.
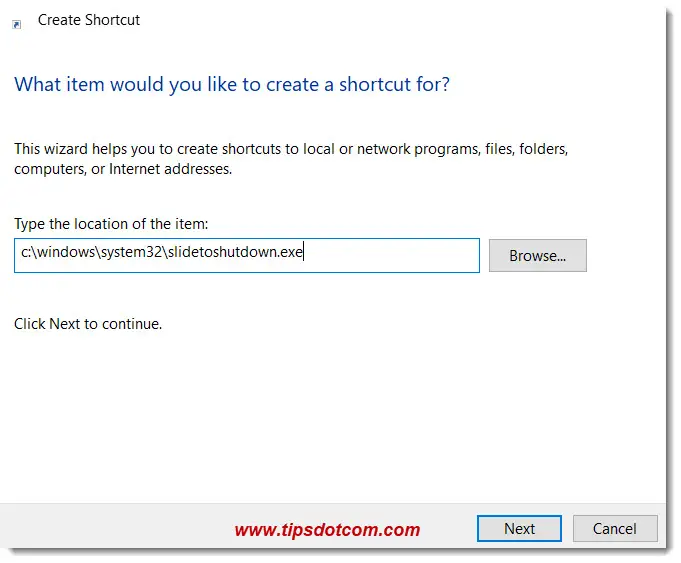
In the image right above, I have already entered the text you need to enter in your shortcut location box, but below here I have put the same entry in a line of text so you can copy / paste it to avoid typo’s (the shortcut has to be entered exactly like that or it won’t work).
c:\windows\system32\slidetoshutdown.exe
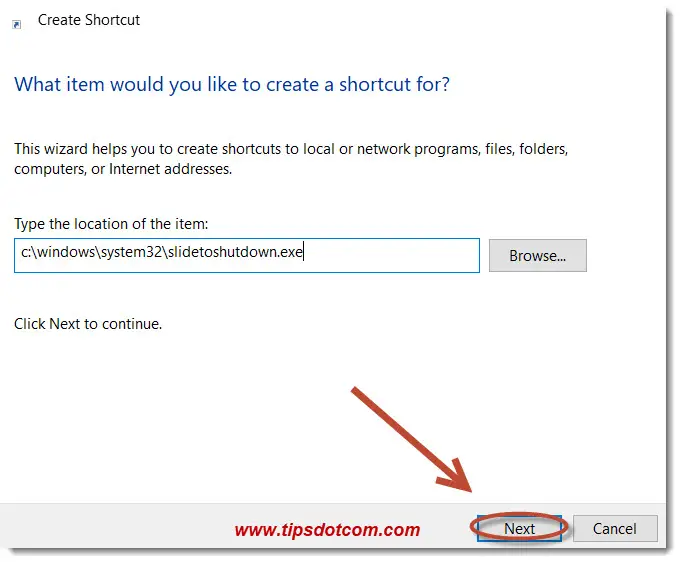
With the correct text entered in the shortcut box, click next to continue.
In the next screen, Windows will want to know from you what name you want to give your new shortcut. In my example image below, I have entered SlideToShutDown, but here you can choose any name you like.
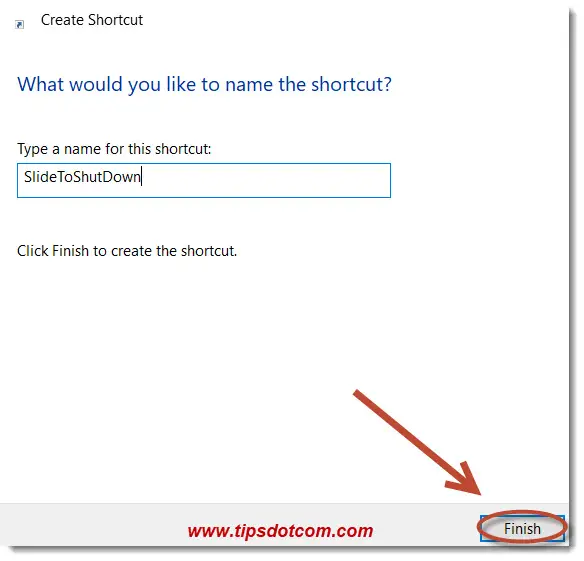
When ready entering a name for your new shortcut, click finish to complete your Windows 10 slide to shutdown shortcut.
You will now have the new shortcut you just created sitting on your desktop, looking like a standard icon. It will function just fine, but we will now add a few additional steps to make the icon look better and also to create a shortcut icon on your taskbar.
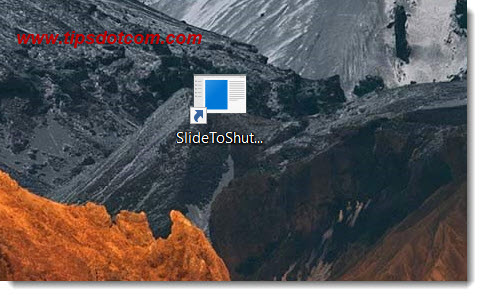
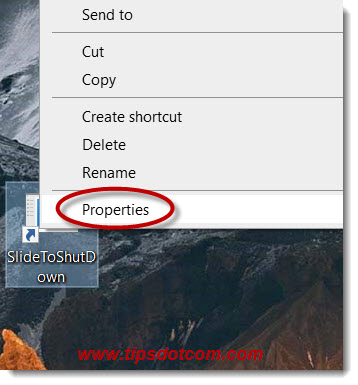
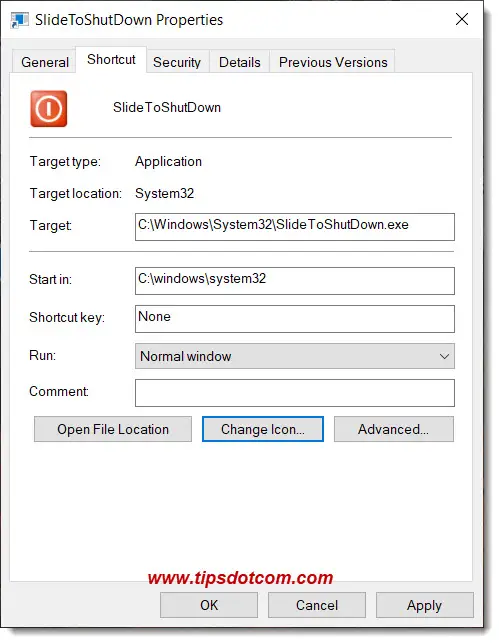
To change the looks of your Windows 10 slide to shut down icon, right click the icon and select “Properties”.
Then click the “Change icon” button to proceed.
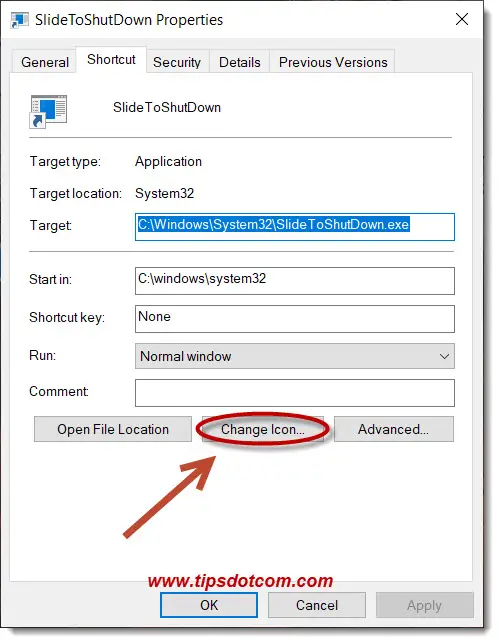
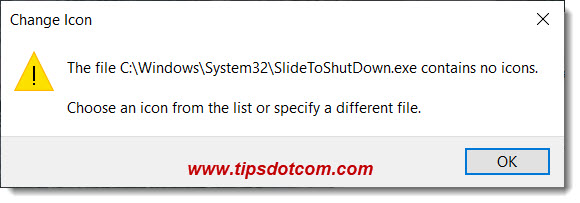
Windows will show a warning that your shortcut contains no icons which is exactly what we’re trying to fix here, so press ok to get past that message.
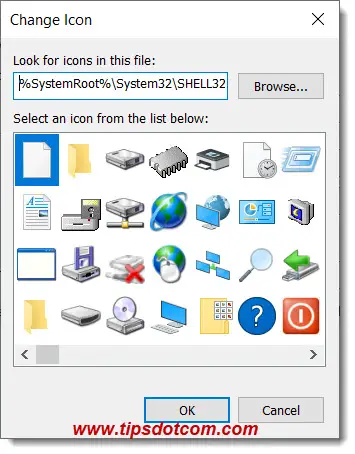
In the next screen you can select an icon for your shortcut and click ok to confirm.
Now you will arrive back again in the shortcut properties window; click ok again to continue and verify the new appearance of your Windows 10 slide to shut down icon.

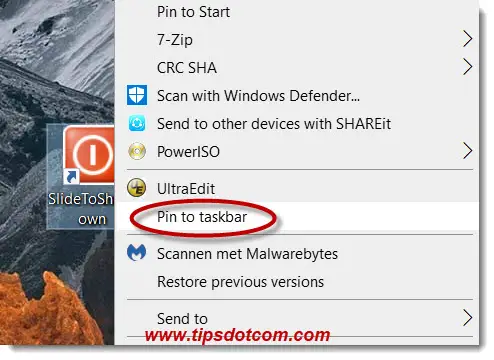
As a final step you can now right-click your new icon and select “Pin to taskbar” from the menu in order to create a shortcut to the icon on your taskbar.
From now on, you can invoke the Windows 10 slide to shut down sequence with a single click on the icon on your taskbar.

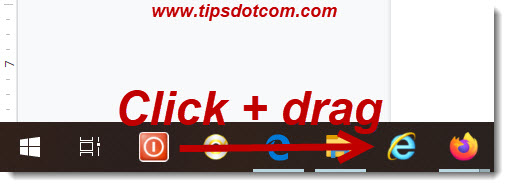
By the way, if you don’t like where Windows has put the icon on your taskbar, you can simply click and drag it to a new position with your mouse.
I hope you like this little tip about using the slide to shut down feature, please click the like button below or leave a short comment if you do, I appreciate it!
If you've enjoyed this article or found it useful, I'd appreciate it if you'd let me know by clicking the Like (or Share) button below. Thank you!


New! Comments
Have your say about what you just read! Leave me a comment in the box below.