Free Duplicate File Remover
Looking for a free duplicate file remover to clean up your hard disk? A good duplicate file finder, free to download from the internet and without annoying toolbars or other malware, is DupeGuru. DupeGuru is the kind of duplicate file software that does as advertised, without making your life too complicated with excessive bells and whistles.
You can download DupeGuru for free here. Running a duplicate file eraser is one of the basic maintenance tasks you should perform from time to time in order to keep your hard drive from becoming cluttered, so let’s see what DupeGuru does to help you do just that.
Installing Your Free Duplicate File Remover
Once you have downloaded this free duplicate file eraser software, right-click on the setup file and select Run as administrator.
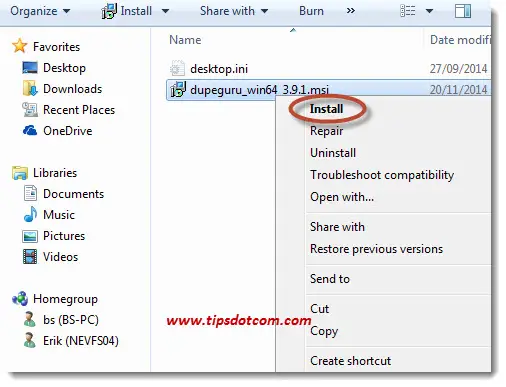
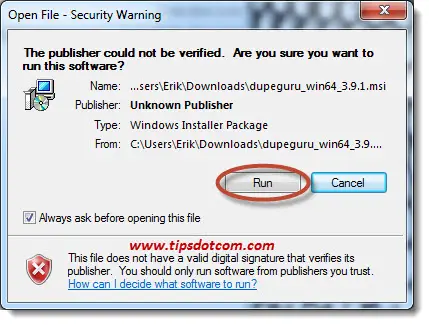
In the next Security warning dialog, click run to continue the installation.
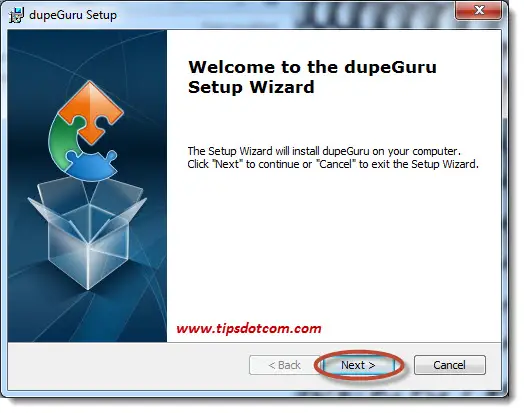
Then, in the first DupeGuru setup wizard screen, click next to continue.
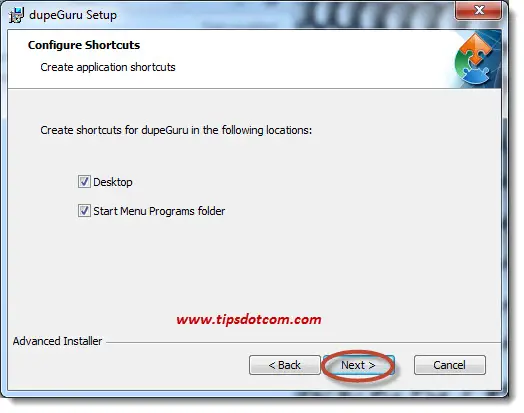
In the next setup wizard screen, leave the default options checked and click next.
The installation folder in the next setup screen should be fine, so click next.
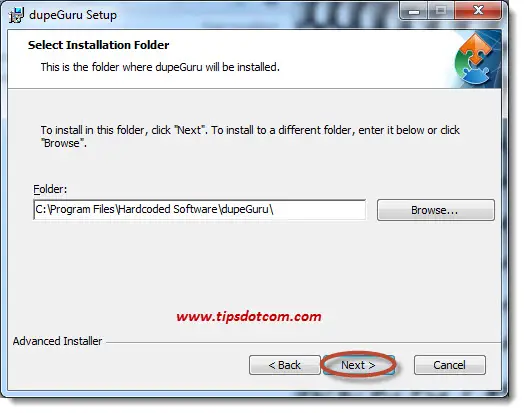
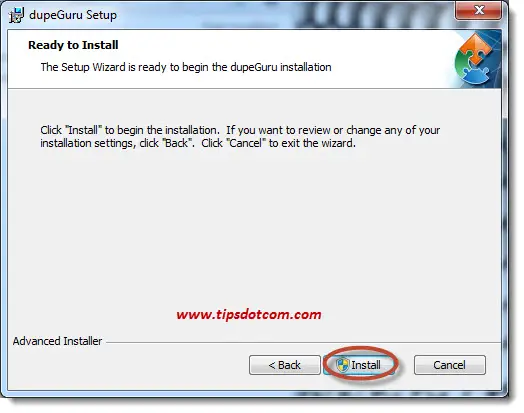
Now the free duplicate file remover is ready to be installed. In this setup screen, click the install button to complete the duplicate file software installation.
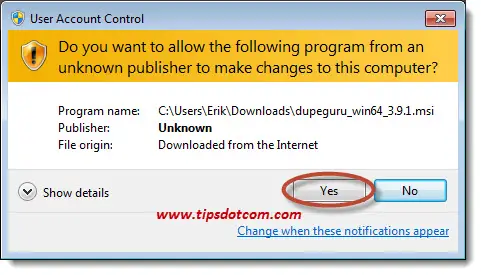
That will launch the actual installation and the Windows User Account Control screen will prompt you to confirm the installation, so click yes to proceed.
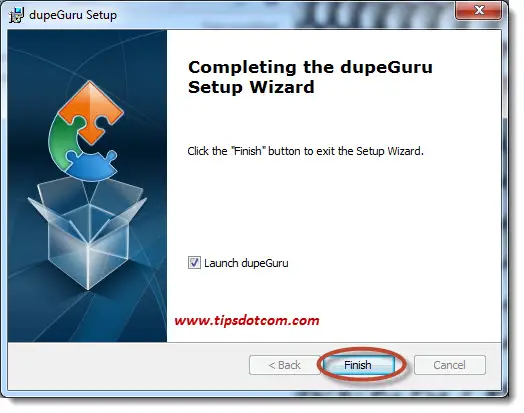
At the end of the installation, you will see a final completion screen, where you can click finish and immediately launch your new free duplicate file remover.
Using Your Free Duplicate File Eraser
In order to get the most out of your free duplicate file remover, you need to understand a little bit more about how it works. Don’t just launch the program and assume it’s intuitive because, I promise you, you will get much better results if you spend the 90 seconds it takes to understand the concept of “folder status” in DupeGuru.
Let’s suppose for an instant that you have a folder called “fotos” where you keep your pictures and you want to use this free duplicate file remover to erase any duplicate files that lay around in *any other* folder on your hard drive. Of course you never want to remove any of your pictures in your “fotos” folder. That’s where the so-called “reference” folders come into play. Let’s see how this works.
The DupeGuru free duplicate file remover will greet you with an empty screen where you need to select which folder(s) you want to scan for duplicate files.
Use the + button to add folders that you want to check for duplicates.
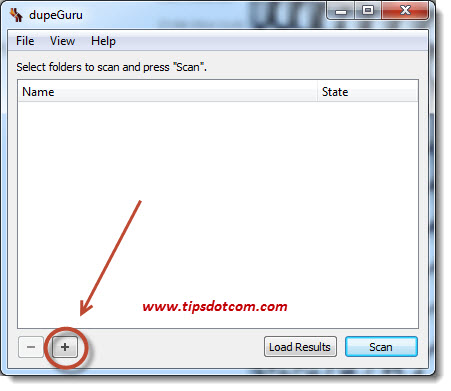
As said in the example above, you want to scan the entire c: drive for duplicates of your pictures that are eating away hard disk space, so you add the c: folder.
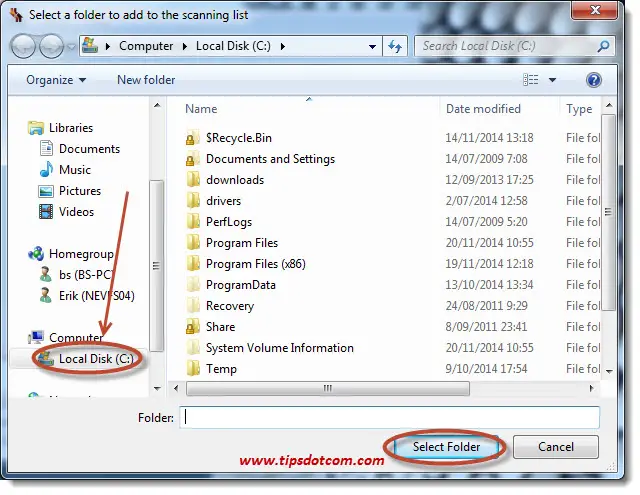
As soon as you click the select folder button, you will arrive back in the main screen.
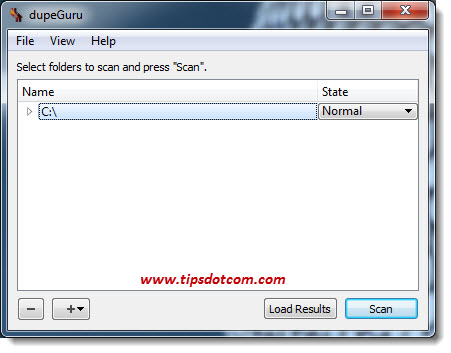
Here it is crucial to make a few more selections.
If you click the little triangle in front of the c: drive, a list will expand with all the folders that live on your c: drive.
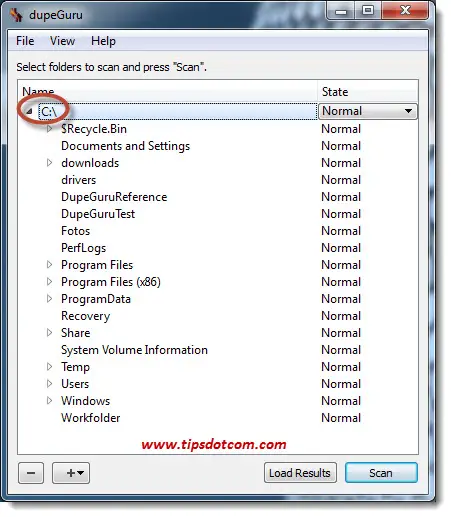
In this list, you will see that there is also a column called “State”, where you can use a drop-down menu to set the state to “Normal”, “Reference” or “Excluded”.
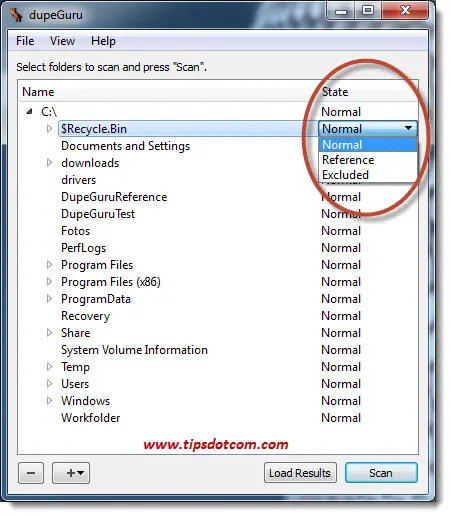
Normal means that your free duplicate file remover will search this folder for duplicate files that can be removed. Reference means that this is the source folder, where the duplicate software will never erase any files and excluded is where you tell the duplicate file finder not to spend any time looking.
You want to exclude Windows system folders and program folders, because deleting system files can destroy your operating system. Exclude any folders called drivers, program files, windows, users, etc, like in the screenshot below.
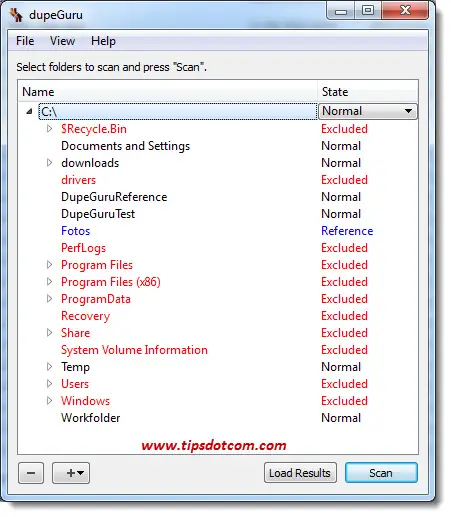
Also in this example, you need to make sure to set the status of your “fotos” folder to “Reference”, so that the free duplicate file remover won’t delete any files in here.
When you have correctly set the status of the different folders, you are ready to proceed and press the scan button.
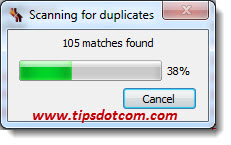
The speed of searching for duplicate files will depend on how fast your computer is and how many files there are in the folder(s) that you select to scan, but you can expect this to take a while.
When ready, the duplicate file finder will show you a list with the results. As you can see in the image below, the files in your reference folder are marked in blue and don’t have a check box in front of them, so they cannot be marked for deletion. At the bottom of the screen is also an indication of the amount of freed up disk space this operation will offer you.
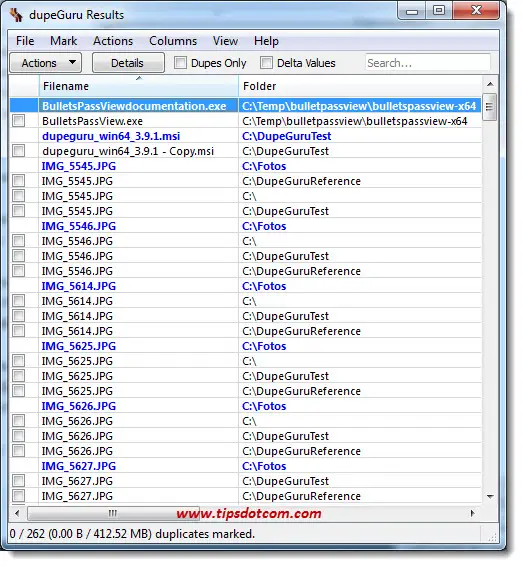
It’s always a good idea to review the search results, so you can make sure not to erase anything you didn’t intend to, and then you can use the “Mark all” menu item if you are ok with the selection.
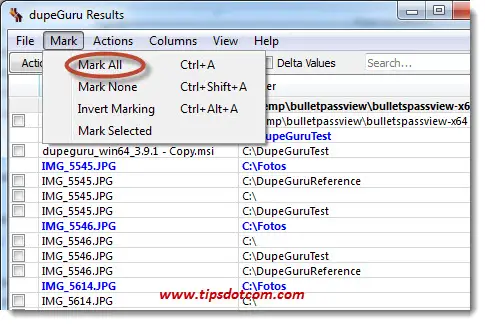
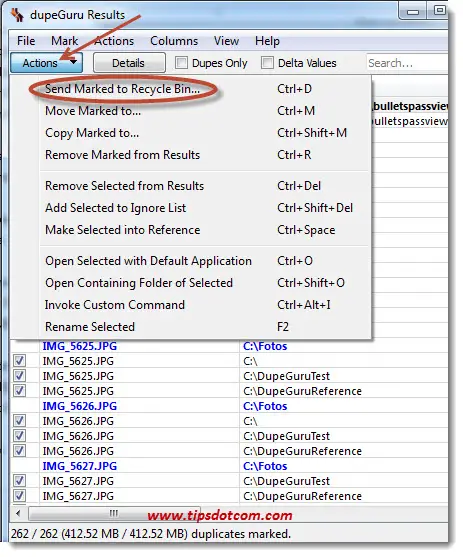
This will put a mark in the duplicate file’s checkboxes and now you can use the “Actions” button to send the marked duplicate files to the recycle bin.
Locating and removing duplicate files on your computer can be a huge rejuvenation process for your hard drive, giving you back enormous amounts of lost disk space if you have a lot of duplicate files laying around.
I hope this article has helped you understand how you can get rid of disk-space-eating duplicate files as tune-up task to keep your computer in good shape. Please take a moment and leave a comment below, I’d appreciate it, thanks!
If you've enjoyed this article or found it useful, I'd appreciate it if you'd let me know by clicking the Like (or Share) button below. Thank you!


New! Comments
Have your say about what you just read! Leave me a comment in the box below.