How to Use Google Drive And Get 15GB of Free Storage
Figuring out how to use Google Drive might not actually be a horrible idea, especially if you already have a Google account. If you are using a Gmail email account, you do indeed already have a Google account and you have 15GB of free storage at your disposal that you can use with Google Drive. All of that (and more) comes with the free Gmail account that you may already have.
If you don’t already have a Gmail account, you can read my article on how to get a free Gmail account right here to get you up to speed. If you have your Google account set up and working, you’re all set and ready to start exploring Google Drive.
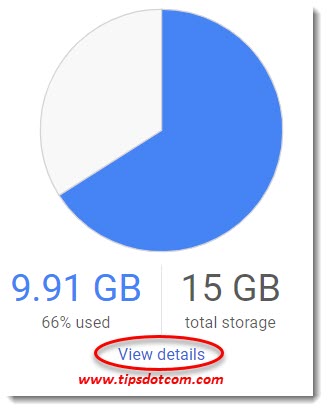
Google Drive is cloud storage from Google. Instead of using up hard drive space on your computer you’re using the Google cloud, with 15GB of Google Drive free storage. If you ever need more than the 15GB Google Drive storage limit in your free account, you can always upgrade to a paid subscription. Google drive storage pricing is affordable at $1.99 per month for 100GB and $2.99 for 200GB and $9.99 for 1TB.
How to Use Google Drive In Your Google Account
You can access the Google Drive login page via the Google Drive direct link here:
https://drive.google.com/
… where you can walk through the Google Drive sign in procedure by entering your Gmail address and password.
Alternatively, you can access Google Drive from within your Gmail account, so if you’re already signed in to your Gmail account, look for the Google Apps icon (the icon with the nine dots near the top right corner of your screen).
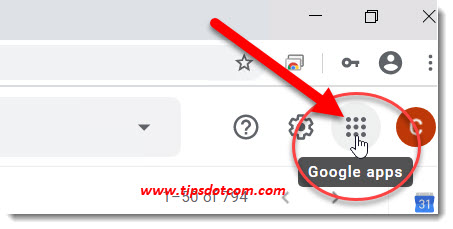
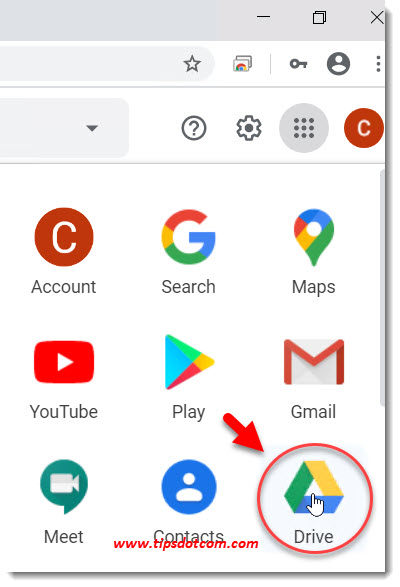
Click the Google Apps icon and in the list of apps that appear, click the Google Drive app icon.
You will now see your Google Drive screen, which will look like this:
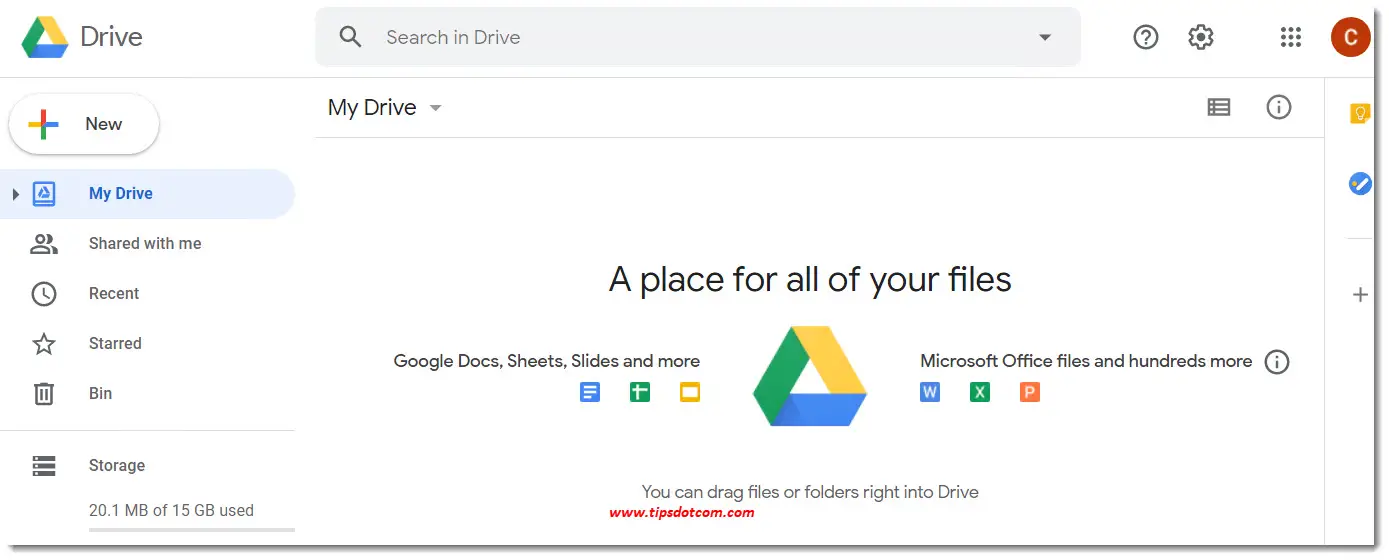
Now let’s take a look around at what you have here and how to use Google Drive.
One of the first things I’d like to point out is the notification that “you can drag files or folders right into Drive”.
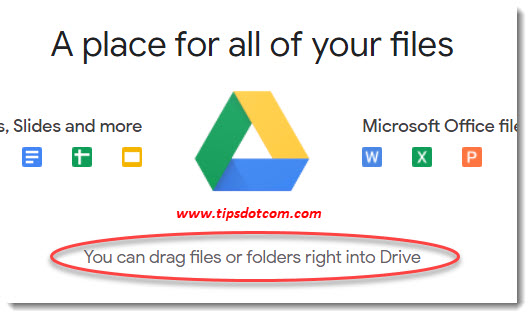
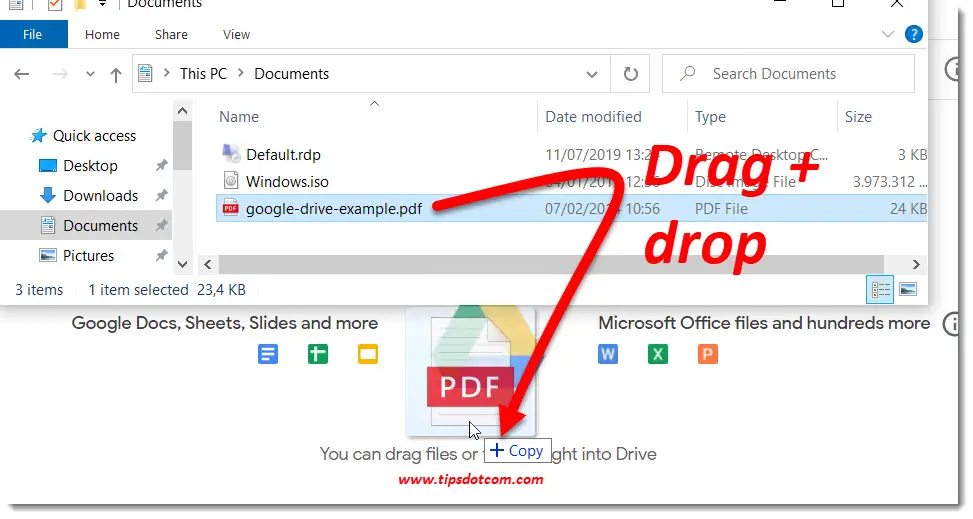
Dragging files or folders is indeed one way to do a Google Drive upload (put files from your computer in the Google cloud storage). That means that you can grab any file or folder in a file explorer window and simply drag to save to Google Drive.
In the screenshot below you can see how I dragged an example pdf file from my explorer window right into my Google Drive window to upload the pdf file to my Google Drive.
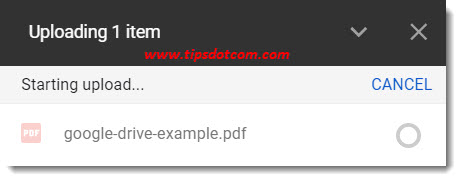
Google Drive will then respond by displaying a file upload notification near the bottom right corner of your screen.
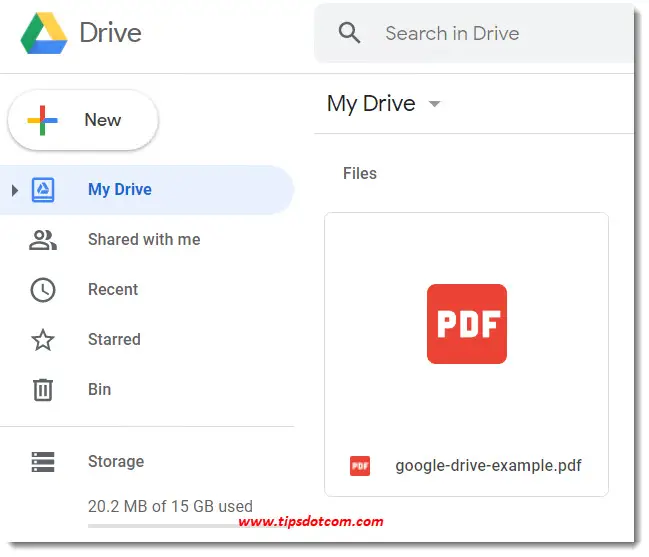
A brief moment later, your Google Drive upload will be complete and your file (or folder) will be in your Google Drive.
There’s also another way to do a Google Drive upload: you can right click on “My Drive” in your Google Drive window and select “Upload files” (or upload folders).
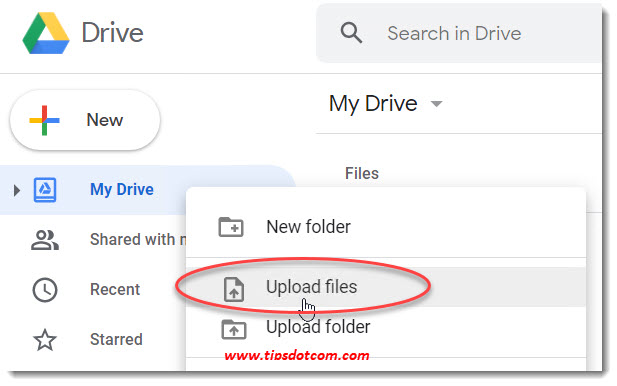
Now a file explorer window will appear and you can select the file you want to upload and click the “open” button to start your Google Drive upload.
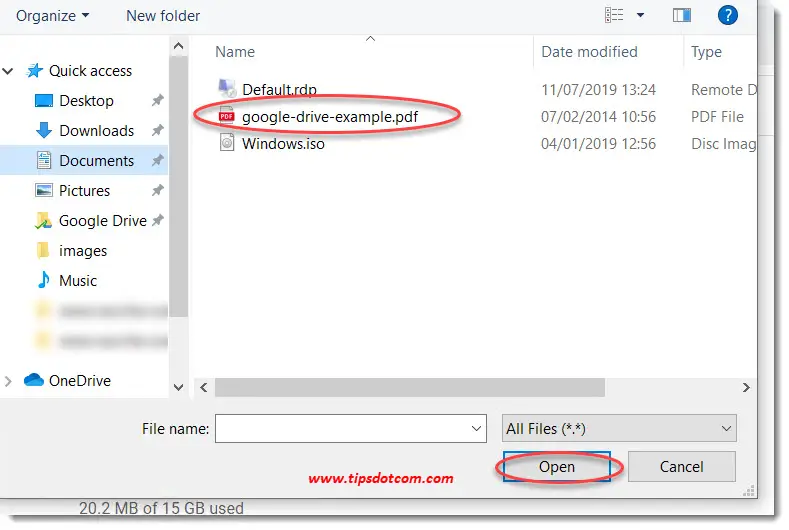
That’s how easy it is to upload documents to Google Drive. You are now officially using Google cloud storage!
But of course there’s (a lot) more that you can do. Let’s take a look.
Google Drive Folders
By now you understand how easy it is to do a Google Drive upload. If you upload enough files though, things may start to look a little crowded. You can change the way your files are presented by clicking the list/grid toggle icon near the top right corner of your screen.
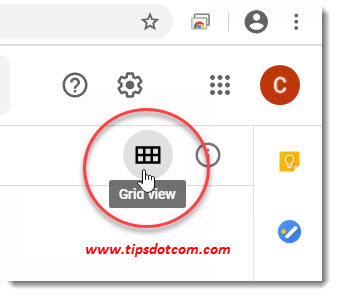
Personally, I like to list my files in list view because then I can also immediately see when it was last modified and the size of the file and I can also click on the column headers to sort by different criteria (for instance by clicking the “Last modified” column header). Note the arrow next to the “Name” header in the image below, indicating that the list is currently sorted by name. You can reverse the sort direction by clicking the arrow.

While we continue to discover how to use Google Drive, let’s take a look at folders.
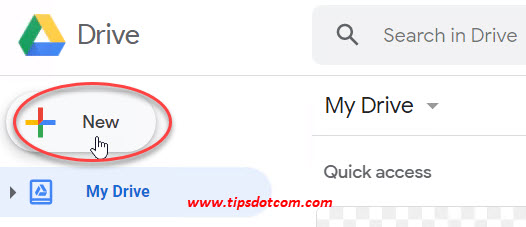
Click on the “New” button below the Google Drive icon on the left hand side of the screen …
… and select “Folder”.
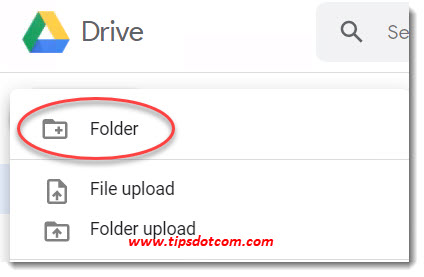
In the “New folder” dialog box that comes up, type a name for your folder and click create.
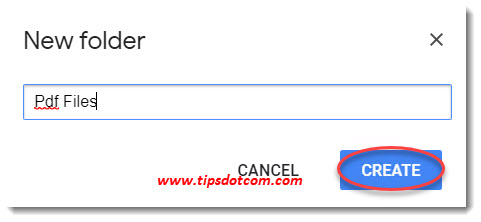
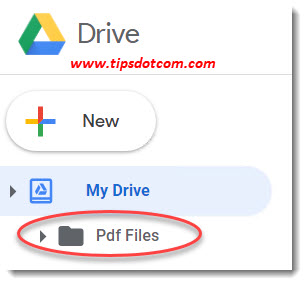
The newly created folder will appear below your “My Drive” main folder.
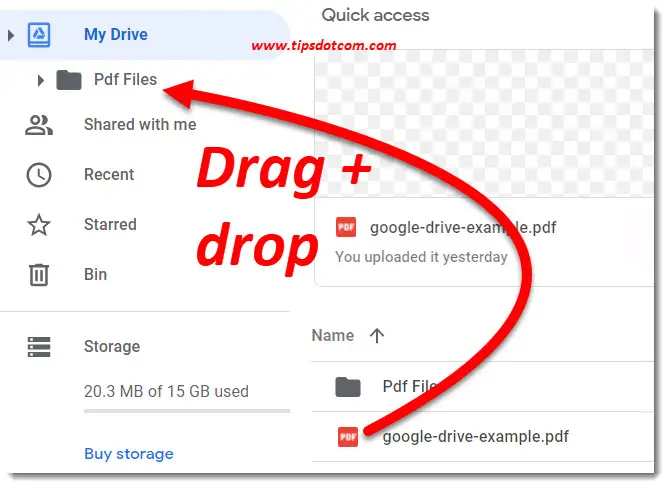
Now you can drag and drop any file(s) into the folder you just created.
Alternatively you can also right click on a file and select “Move to” from the popup menu …
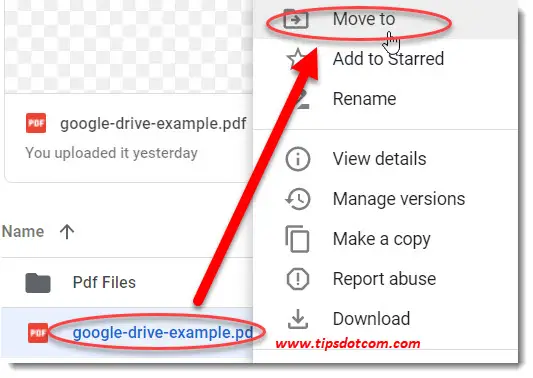
… and then select the Google Drive folder where you want to move the file.
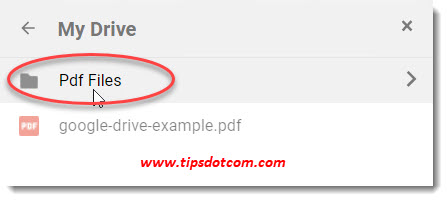
Yes, you can also create folders inside folders and nest them several levels deep. Organizing your files in Google Drive folders allows you to arrange things so that you can easily find them instead of having to search through one giant heap of files.
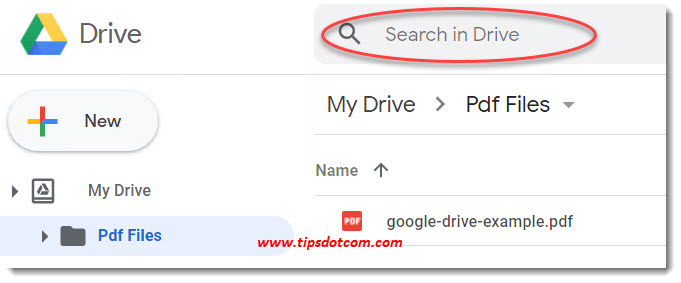
Speaking of searching: obviously the Google Drive search function is an amazing tool to help you find documents in your Drive (it’s Google search).
Type your search query in the “Search in Drive” box and press ENTER to quickly find the documents you are looking for. Google Drive search will also search in file contents so anything that contains the search phrase that you enter will show up.
Now let’s also take a look at how to use Google Drive Docs (and Sheets). If you click the “New” button below your Google Drive icon …

… you can then select “Google Docs” from the list:
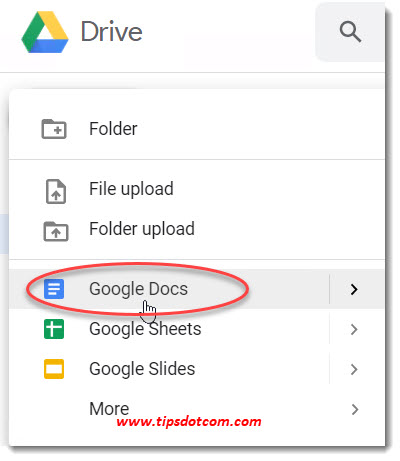
As a result, a new (untitled) Google Docs document will appear in your Google Drive with all the bells and whistles you’d expect from a modern word processor (including spelling and grammar checking, voice typing and more).
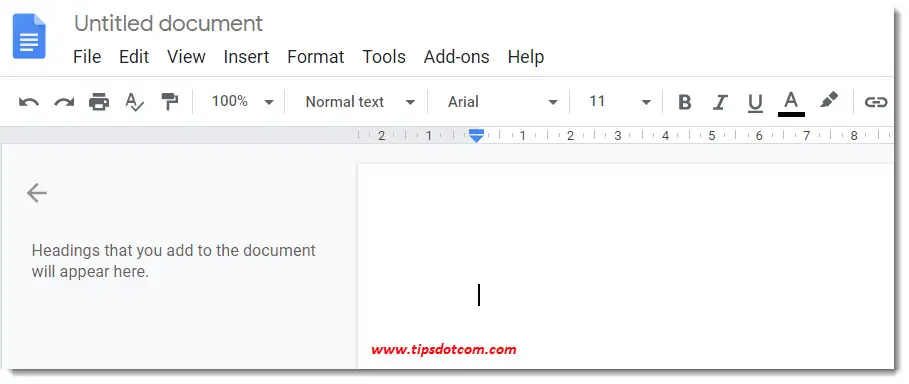
You can start typing in the document right away. Google Docs will also automatically save every few moments, so you'll never have to go through the agony of losing an entire document because you forgot to save it.
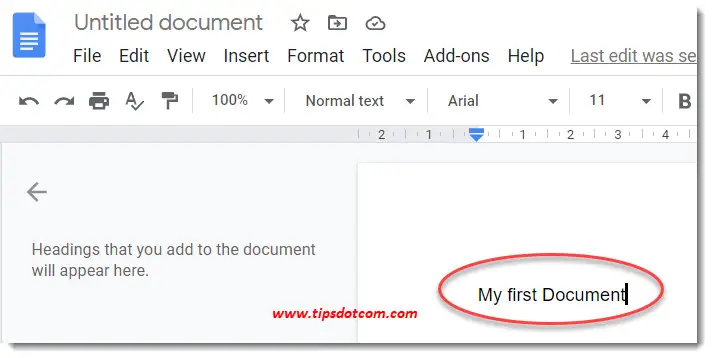
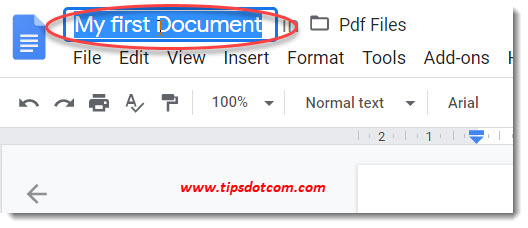
If you click on the document name, Google Docs will automatically suggest a name based on the first words in your document, but of course you can change this to anything you like.
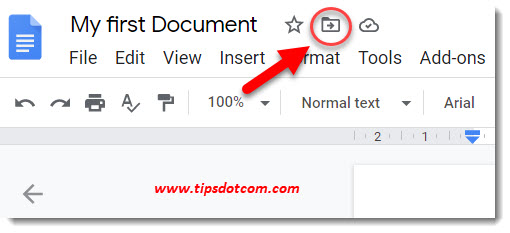
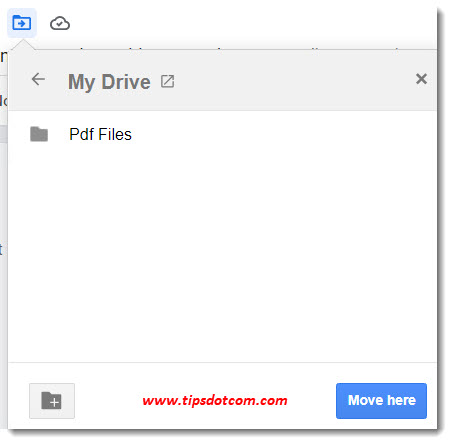
You can click the folder icon at the top of your document to move the document to any specific folder.
If you’ve worked with Microsoft Word or other word processing software before you’ll quickly discover how to use Google Drive Docs (and Google Sheets for spreadsheets). And: you can knock yourself out with Google Docs,Google Sheets and Google Slides all you want, it’ll cost you nothing.
Talking about free, I’ve mentioned the Google Drive storage limit of 15GB free space above, but Google Docs, Google Sheets and Google Slides are not taken into account for your 15GB free storage. That means that you can create as many spreadsheets, documents and presentations as you like within your free Google Drive account.
That is also the reason why you won’t see anything reported under “File size” in your file listings for any of these document types.

Storing your documents in Google cloud storage also means that you can share files with others. Let’s see how to use Google Drive file sharing.
In the top right corner of your document you’ll find a “Share” button which will show you who the document is shared with if you hover over it with your mouse. Currently it shows “Private to only me”, because it hasn’t been shared with anybody yet.
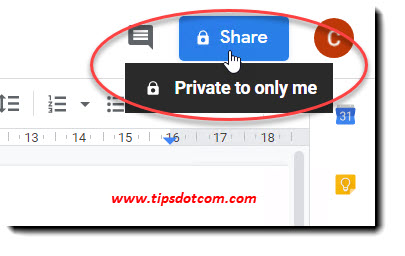
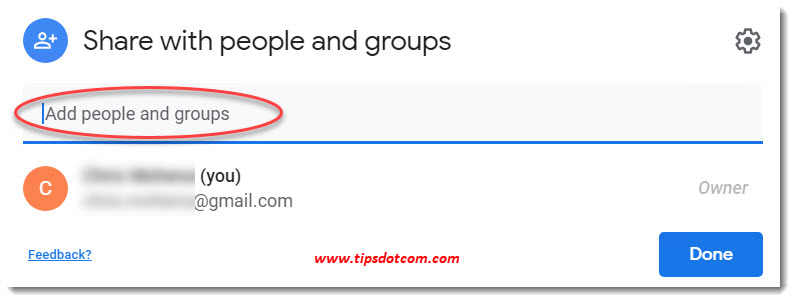
If you click the share button, a window will appear allowing you to enter the email address(es) of people you want to share your document with.
Now you can enter a short message for the person you are sharing your document with, as well as the ability to choose whether they can “View”, “Edit” or “Comment” on the document.
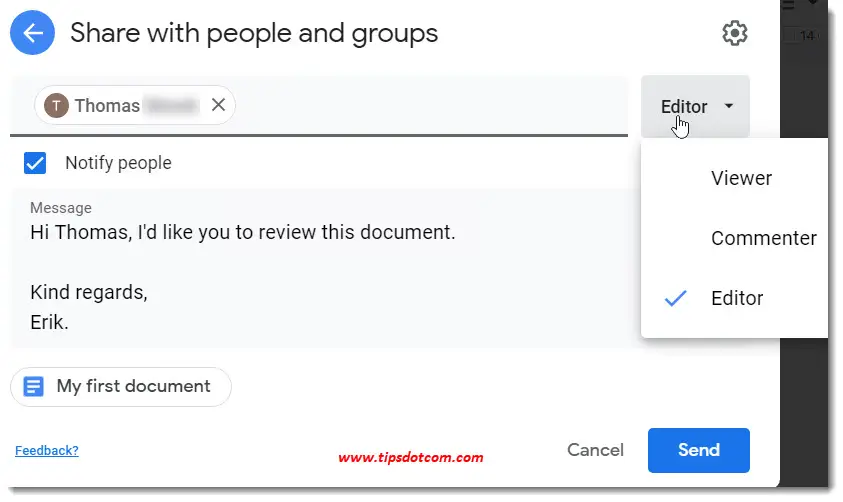
If you click the send button, your sharing invitation will be sent and the recipient will receive an email with the link to your document in your Google cloud storage.
How to Use Google Drive App on Your Phone
Google Drive apps exist for Android devices as well as Apple devices and can be downloaded from the App Store and Google Play. If you’re going to use the Google Drive app and find out how to use Google Drive on your phone you’ll be able to work on your documents and access your files while on the go.
When you resume your work on your computer, you can finish where you left off and your documents will be synced across your devices.
Once you’re used to working with your Google Drive account on your computer, you’ll find that the Google Drive app on your smartphone works very similarly and you’ll quickly be able to switch between your devices yet always have your documents available, no matter where you are accessing them from.
An Extra Google Drive Pdf Feature
You’ll quickly find that learning how to use Google Drive is a very intuitive process. Google Drive will sometimes help you by displaying help balloons in your screen to point out how things work.
There is one very helpful feature that may not be so obvious, but it can be incredibly useful. If you are working with pdf files you can use the Google Drive OCR feature (Optical Character Recognition). This will allow you to quickly convert (read-only) pdf files into Google Drive Docs files that you can then edit and share with other people to collaborate.
To do so, simply right click on any pdf document in your Google Drive and select “Open with” and then “Google Docs”.

The Google Drive OCR functionality will “read” the pdf document and transform it into a Google Docs file that you can fully edit and use like any normal Google Docs document.
Conclusion
Learning how to use Google Drive is a great way to take advantage of 15GB of free Google Cloud storage, along with a heap of collaboration capabilities that allow you to work closely together on your documents with other people. Especially if you are working with the Google Drive native file types (Google Docs, Sheets and Slides) there’s basically no limit to the number of documents that you can create and work on. For free.
There are still a bunch of other things you can do with Google Drive and I will certainly be covering more of them in more articles to come.
For instance, there is a Google Drive desktop app that integrates with Windows File Explorer and that allows you to work with Google Drive offline, as well as some more features that can help you when you're learning how to use Google Drive.
If you've enjoyed this article or found it useful, I'd appreciate it if you'd let me know by clicking the Like (or Share) button below. Thank you!



New! Comments
Have your say about what you just read! Leave me a comment in the box below.