Windows 8 Recovery Drive
New thought for the day: failing to create your Windows 8 recovery drive is like driving your car without proper insurance. As long as you don’t hit something (or someone) you’ll be fine. What’s more: the driving feels the same whether or not you have insurance.
Sounds absurd? Maybe. But allow me to elaborate.
Last week I found a message in my inbox from a newsletter subscriber with a question about a Windows 8 recovery flash drive. Somebody had pointed out to her that living without one could get her into all kinds of trouble.
This proposition made her nervous as a long-tailed cat in a room full of rocking chairs, especially since the person who told her this had omitted to explain HOW to create a Windows 8 recovery drive.
Now, pretty much as in the analogy of driving a car without insurance, using a computer without recovery drive works just fine. You won’t experience any difficulties or disadvantages.
Until your computer refuses to start.
Creating A Windows 8 Recovery Drive Is Super Easy
As an average computer user, you may be convinced that creating a recovery drive to help you get out of trouble when things go wrong is not something you need to do. If your computer doesn’t start you’re lost and you wouldn’t even know where to begin anyway, right?
Wrong.
Before spending your money on a computer repair service, there are a couple of simple tips and tricks that you can easily try yourself without the risk of breaking anything else. And a recovery disk might be invaluable for that.
What’s more, if you do need to call the computer repair guy, he may tell you that he cannot help you to recover your files unless you have a recovery drive. (Ultimately that depends on the skills of the computer repair guy, because it is possible to create a recovery drive on another computer with the same version of Windows, but that’s a different matter).
I guess I’m just trying to say that you should do yourself a favor, spend the two minutes that it takes to create your recovery drive and have peace of mind.
One last thing I must mention before you can get started is that you will need a USB flash drive (at least 256 MB capacity) to create a Windows 8 recovery flash drive or an external USB drive that can be designated for this purpose. Most people prefer to use a USB flash drive because external hard disks usually have way more capacity than 256 MB, which leaves a lot of wasted hard drive space if they are used as a recovery drive.
Any old USB flash drive with a capacity of at least 256 MB (It will be hard to find smaller ones these days) like the ones you can find on Amazon will do.
Here’s how you do it:
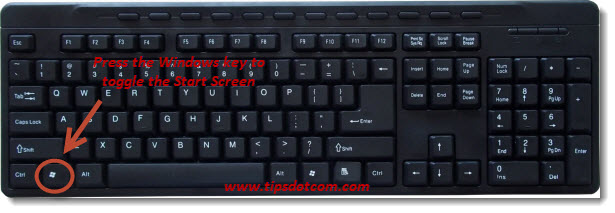
Go to your Windows 8 start screen by using the Windows key on your keyboard. (Pressing this key repeatedly will toggle the Windows 8 start screen.)
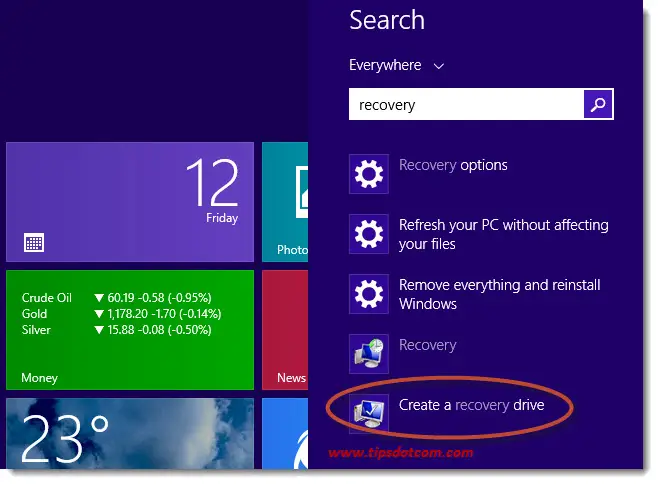
With the start screen displayed, type “recovery” (without the quotes), which will bring up the Windows search function as shown in the image below. Select “create a recovery drive” from the list.
A Windows user account control screen may come up, like illustrated here:
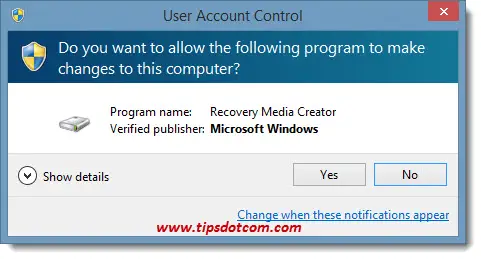
Click yes to continue.
That will take you to the recovery drive overview screen:
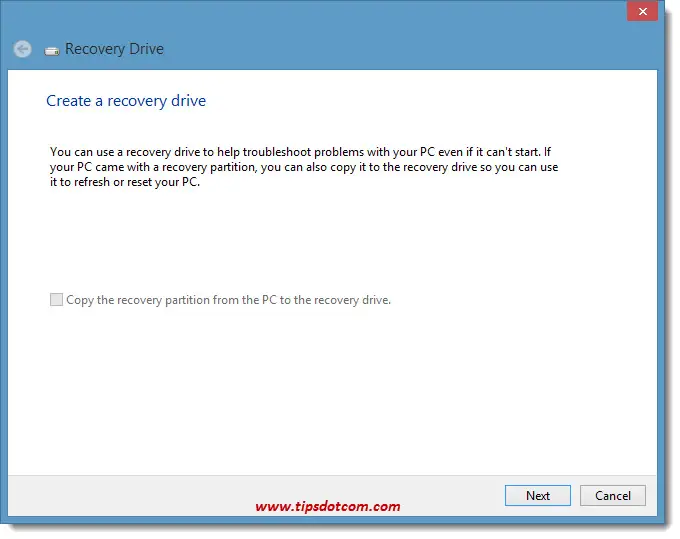
Again, click next to proceed. Windows will then show a screen while searching for any available
recovery drives.
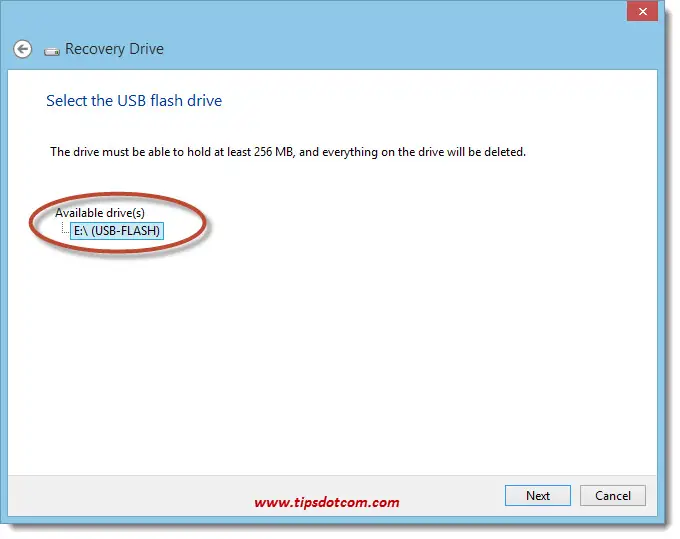
In this next screenshot you can see that Windows found a USB flash drive and automatically suggest this as the Windows 8 recovery drive. Click next to continue.
In the next screen you will see a warning message that everything on the drive you selected will be deleted.
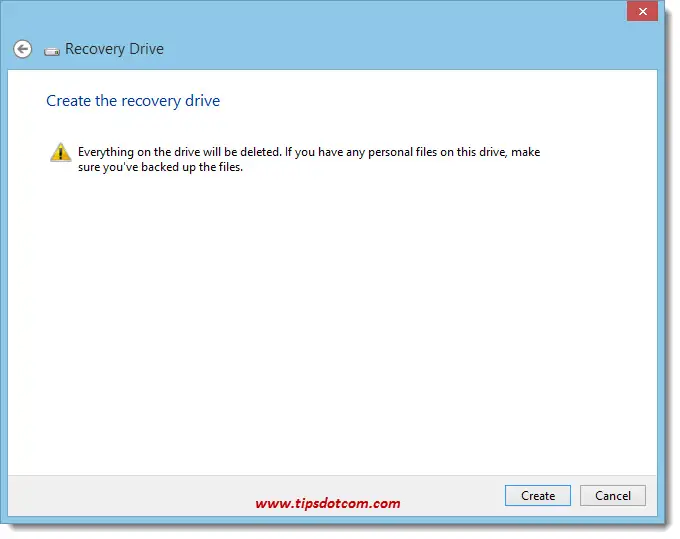
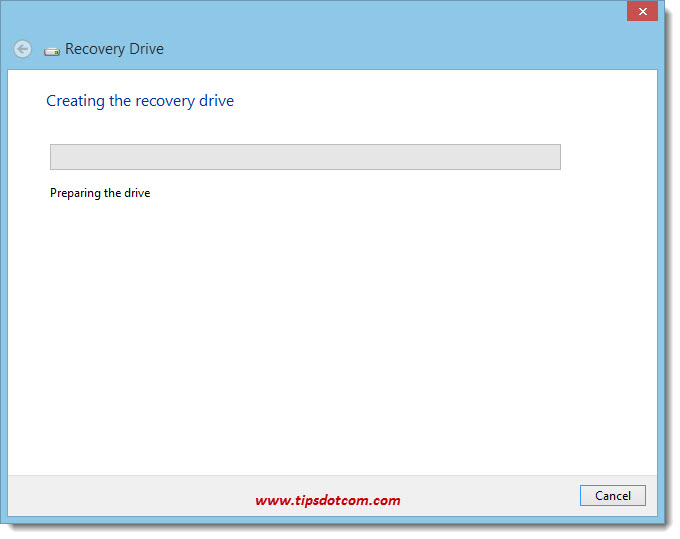
Clicking the create button will take you to the next screen, informing you that the drive is being prepared (which doesn’t take long).
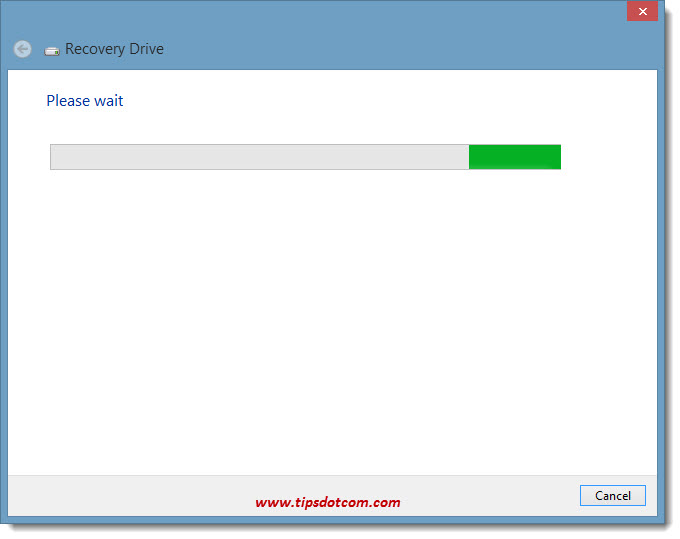
Windows will automatically proceed onto the next step, where the drive is formatted.
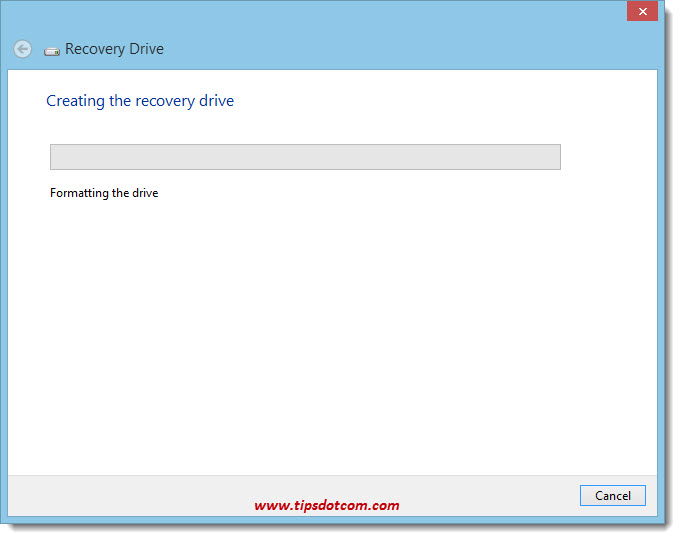
Once the drive is formatted, Windows will begin copying the necessary files onto the drive.
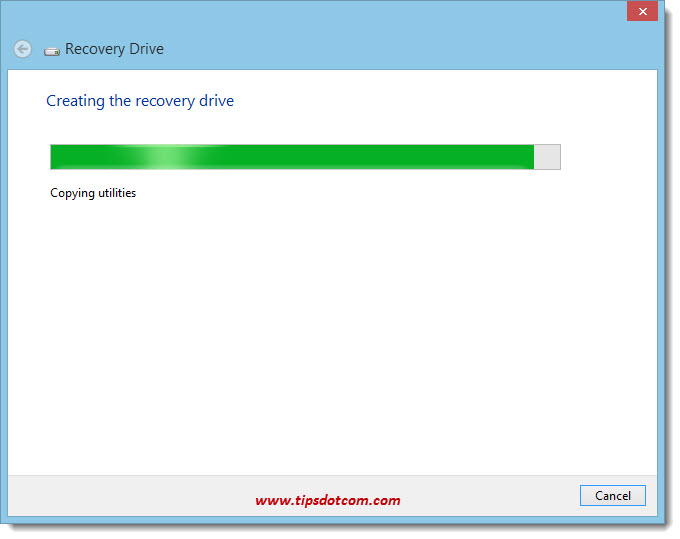
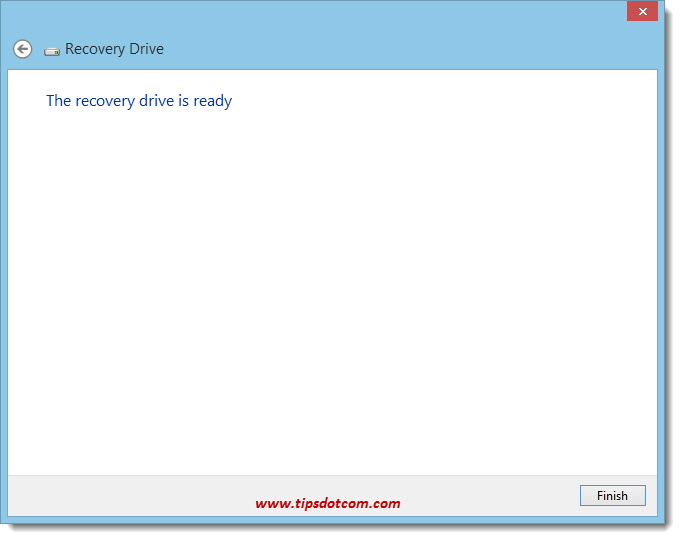
The entire process doesn’t take long and pretty soon you’ll be informed that the Windows 8 recovery drive is ready.
If you take a look in Windows Explorer at the drives present in your computer, you’ll find your brand new recovery drive.

That’s how easy this is.
You can find a few tips and tricks that you can perform with your newly created Windows 8 recovery drive in a separate article. What’s for sure is that you can feel a little more at ease knowing that you will be able to start your computer with the recovery drive, even if it won’t start normally due to some virus or some other serious error.
Make sure to put your recovery drive in a safe place where you can find it in the event something goes wrong with your computer or when you (or the computer repair guy) need to repair your Windows installation.
Please take a brief moment and leave a comment below. I appreciate it, thanks!
Related article: Windows 10 Recovery Drive.
If you've enjoyed this article or found it useful, I'd appreciate it if you'd let me know by clicking the Like (or Share) button below. Thank you!


New! Comments
Have your say about what you just read! Leave me a comment in the box below.